
What is the WeatherHAT?
The WeatherHAT is a Raspberry Pi HAT compatible board featuring 26 LEDs in various colours to show various weather patterns, highlighted by the silkscreen design.
Using the WeatherHAT, you can quickly and easily show any variety of weather formations from warm blistering sunshine, to cloudy overcast sky to a raging thunderstorm. Combine this with live weather data from your own weather station or from online services allows a quick glance to gauge whether you’ll need an umbrella or sun hat later that day.
Getting started
First thing you need is a Raspberry Pi and an SD card installed with Raspbian. Instructions on setting this up is here.
Fitting the WeatherHAT
The WeatherHAT sits snuggly on top of the Raspberry Pi GPIO pins to cover the Raspberry Pi as shown

Make sure all the pins are connected as offsetting the WeatherHAT slightly on the GPIO header can cause problems with the HAT and/or Pi to not work or suffer damage so double check it is seated
Connect everything up
Now connect the HDMI, network (internet is required), mouse and keyboard.
Installing the software
Once the Raspberry Pi has finished starting up, proceed to login and start the desktop environment (if it doesn’t automatically boot).
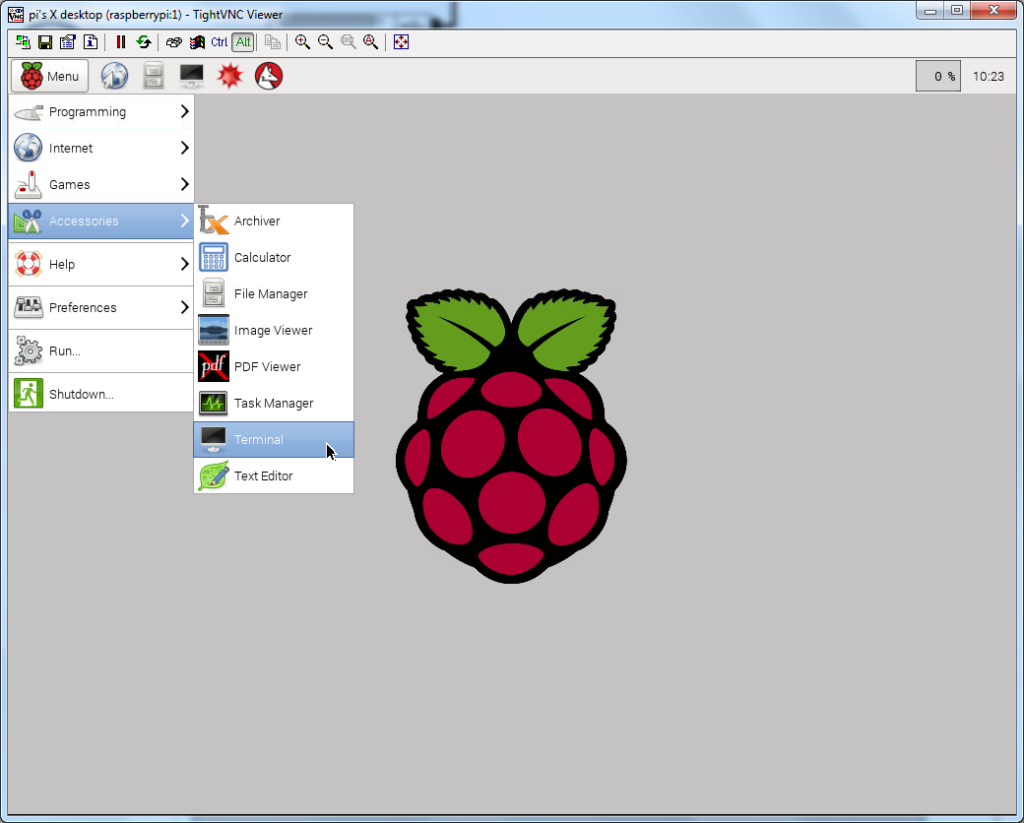
Click on the Menu button, go down to Accessories, and click on Terminal.
This will open the Terminal command box, in this the instructions to install the software will be typed.
Type in the following, hit enter at the end of each line and wait for the green and blue text to appear again. Some instructions may take a minute or two to run, so please be patient.
sudo apt-get update

sudo apt-get upgrade -y

sudo apt-get install build-essential python3-dev git scons swig python3-smbus python3-gpiozero python3-requests -y

sudo pip install rpi_ws281x --break-system-packages

git clone https://github.com/CyntechUK/WeatherHAT.git
That is all the libraries and software installed, we just need to make a few more changes, such as enable serial communication for the LEDs;
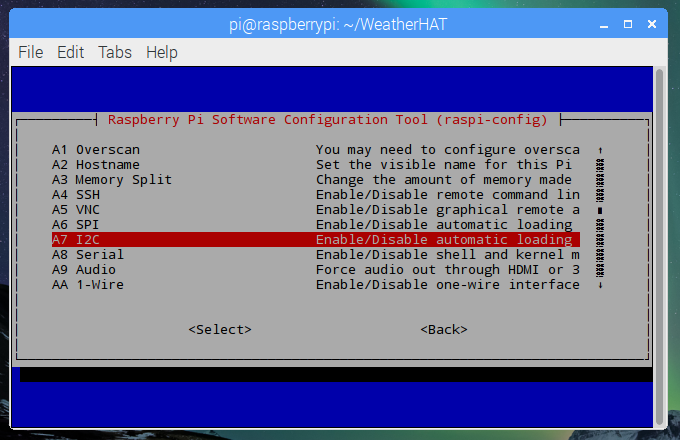
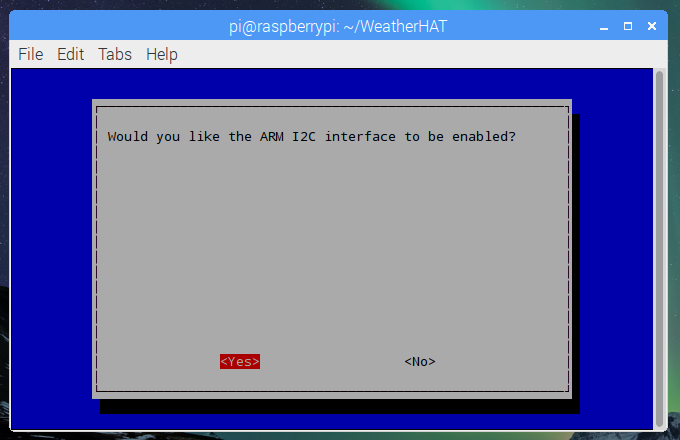
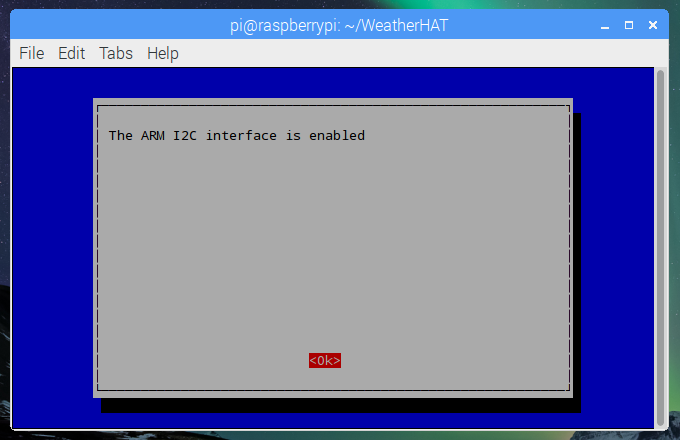
sudo raspi-configGo to Interface Options, using the arrows keys. Go down to I2C. Then YES to enable the driver. Press OK on the confirmation then go to System Options. Select Audio, select vc4-hdmi, then OK.
Press TAB to FINISH, and reboot the Raspberry Pi for all the changes to take effect.
Testing
Once the Raspberry Pi has finished booting up, open Terminal again, and start the sample Cycle script to check everything works;
cd WeatherHAT
sudo python cycle.py
If everything worked, the WeatherHAT should spring to life with a pulsing warm sun, and then start cycling through a short weather cycle including rain, thunder finishing with a rainbow.